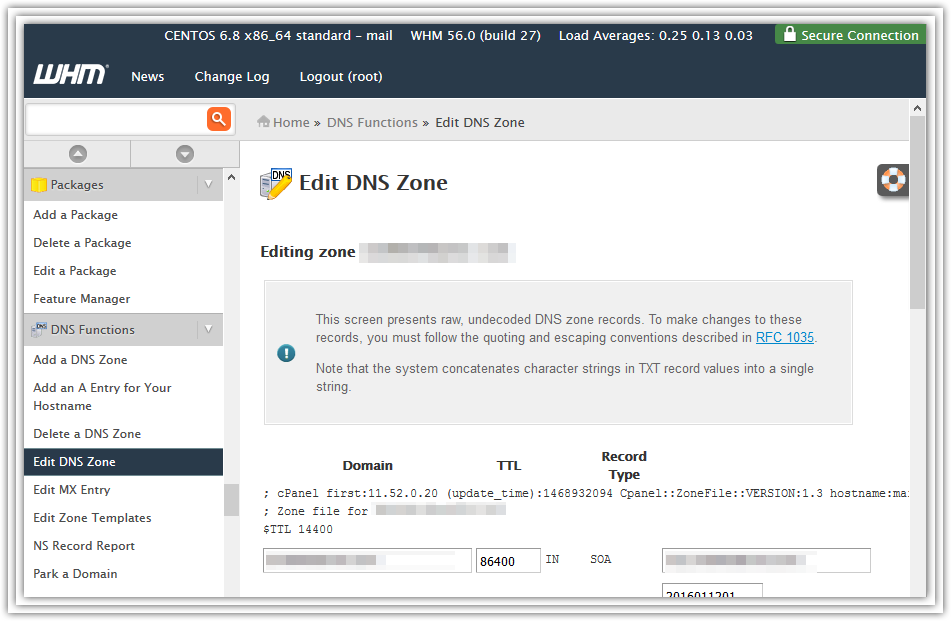
Access the DNS Zone Editor
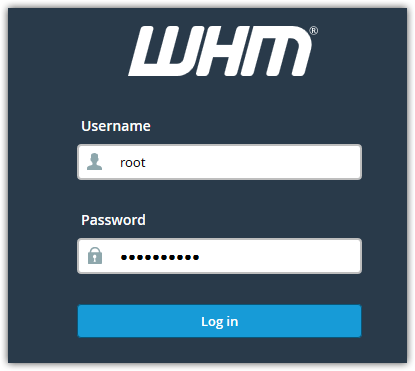
- Log in to your WHM account
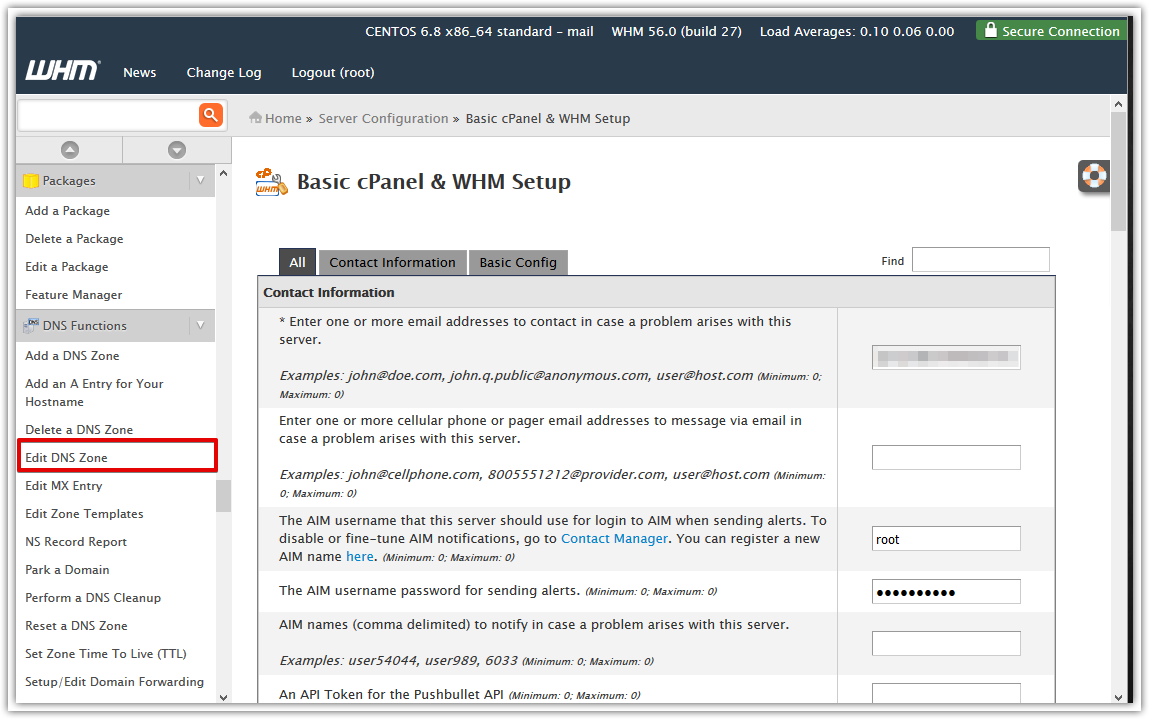
- On the left navigation menu, scroll down to the DNS Functions section, click on the Edit DNS Zone menu.
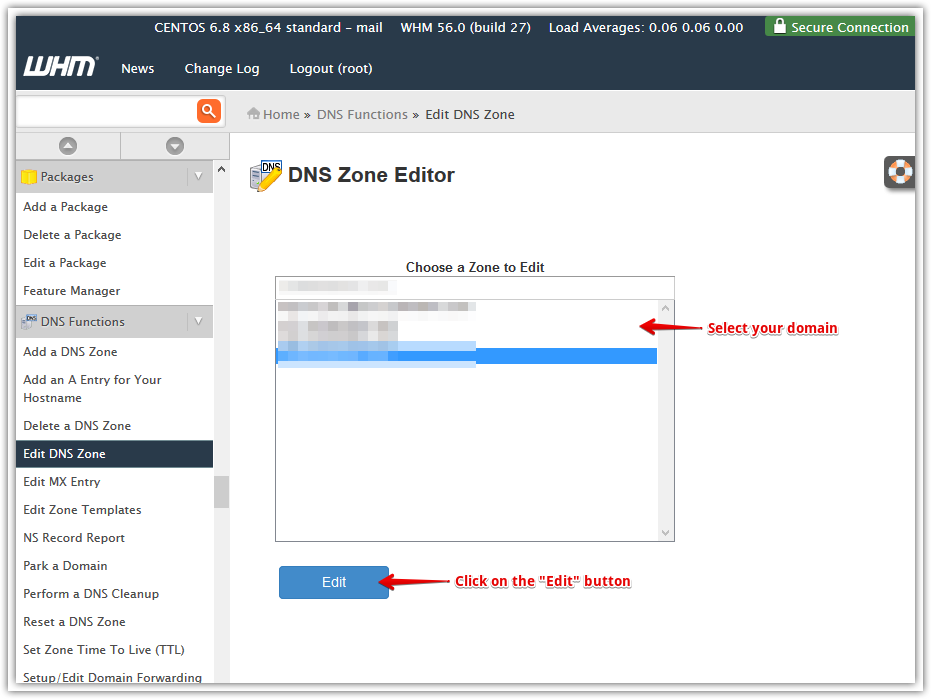
- Select your domain name and click on the Edit button.
Back to top
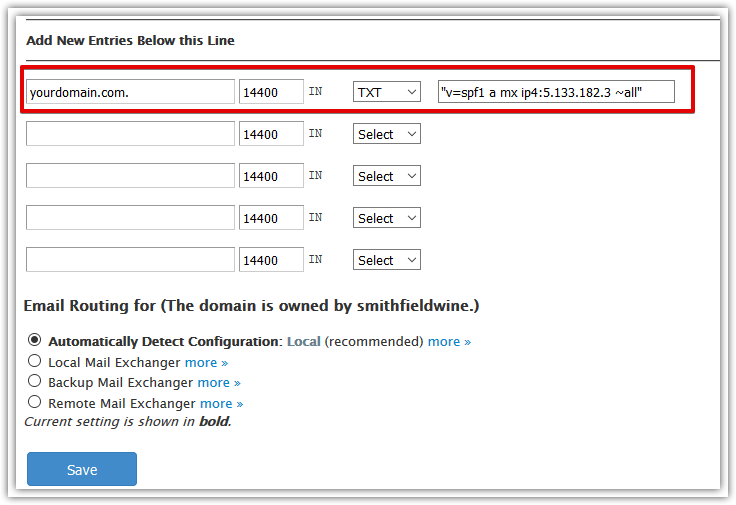
Create a SPF record
- On your DNS Zone, scroll down to the Add new entries area.
- Enter your domain name in the first input (add a dot at the end)
- Select the TXT record type
- Enter your SPF record in the last input. Please make sure to start and end your SPF entry with a quote.
- Click on the Save button
Back to top