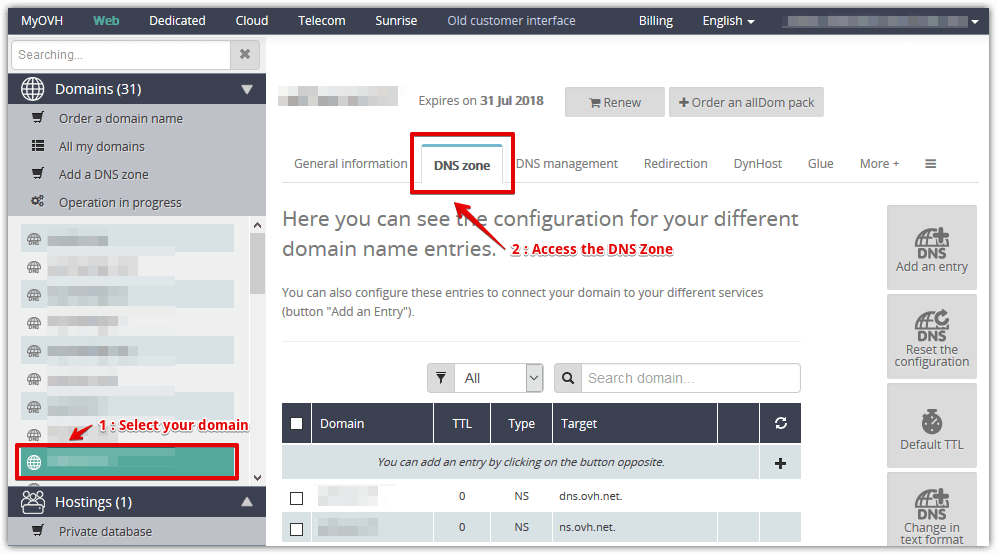
Access the DNS Zone
- Log in to the OVH Manager.
- On the left navigation bar under the Domains section, select the domain you want to change the DNS record.
- Click on the DNS Zone menu.
Back to top
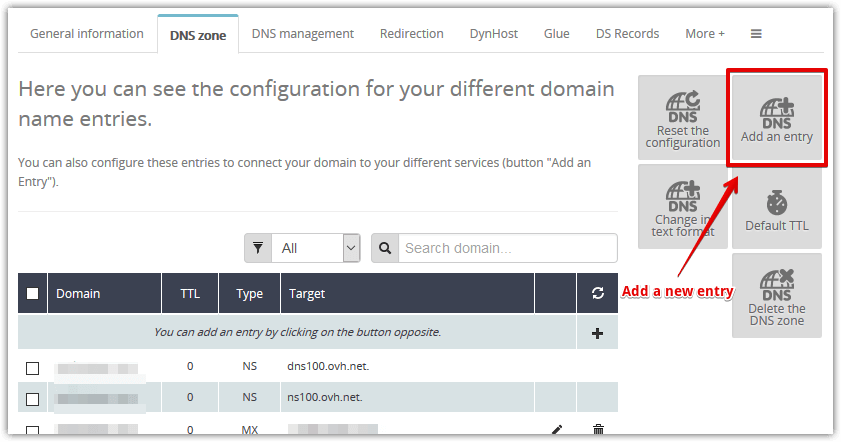
Create a SPF record
-
Click on the Add an entry button or edit your existing SPF record.
-
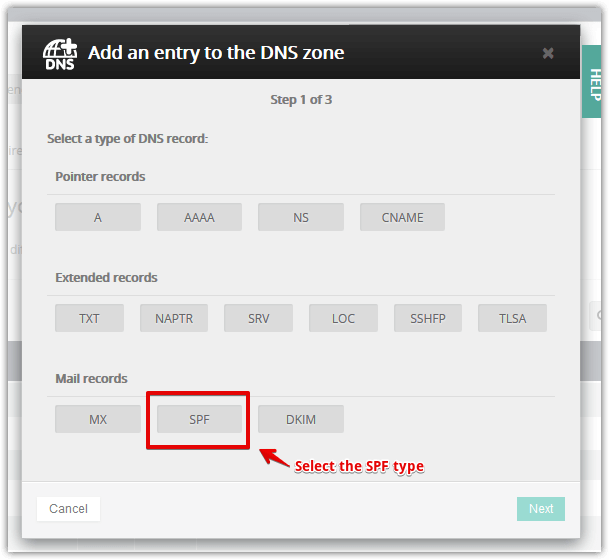
Select the SPF type and click Next.
-
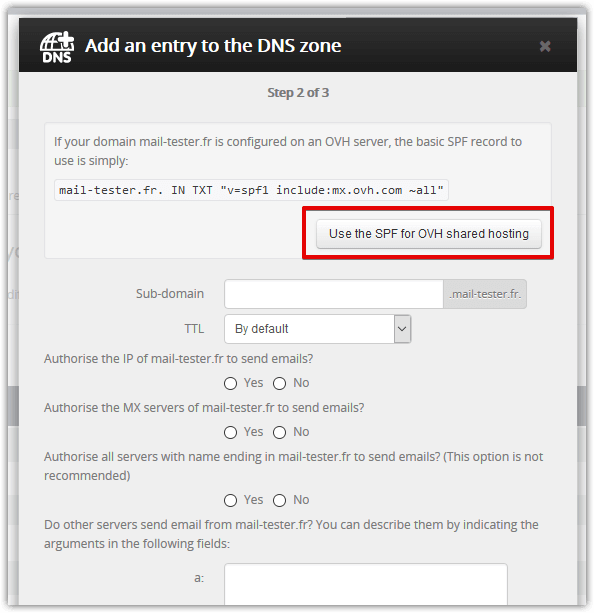
If your domain is hosted by OVH with a shared hosting and you only use your server to deliver emails, simply click on the Use the SPF for OVH shared hosting button.
-
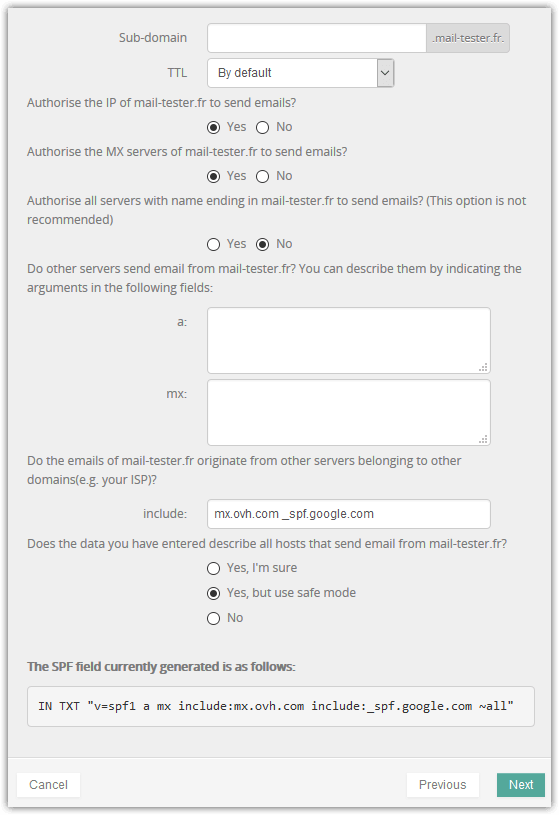
If you use your own server or an external delivery service, fill in the form to create your custom SPF record.
Then click on Next.
-
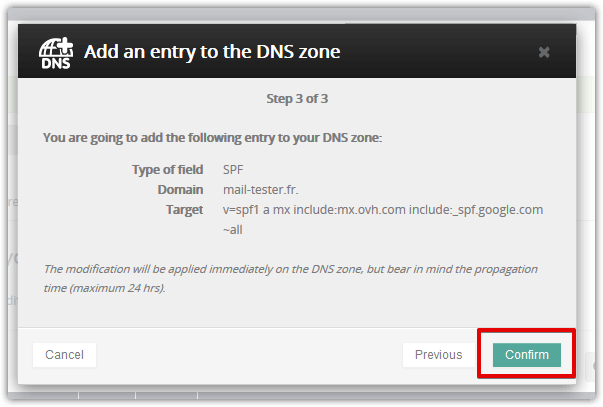
Check your entry and then click on the Confirm button.
Back to top