Access the DNS Zone Editor
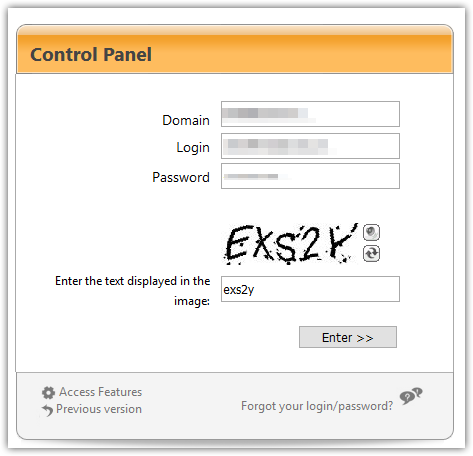
- Log in to your Aruba account manager
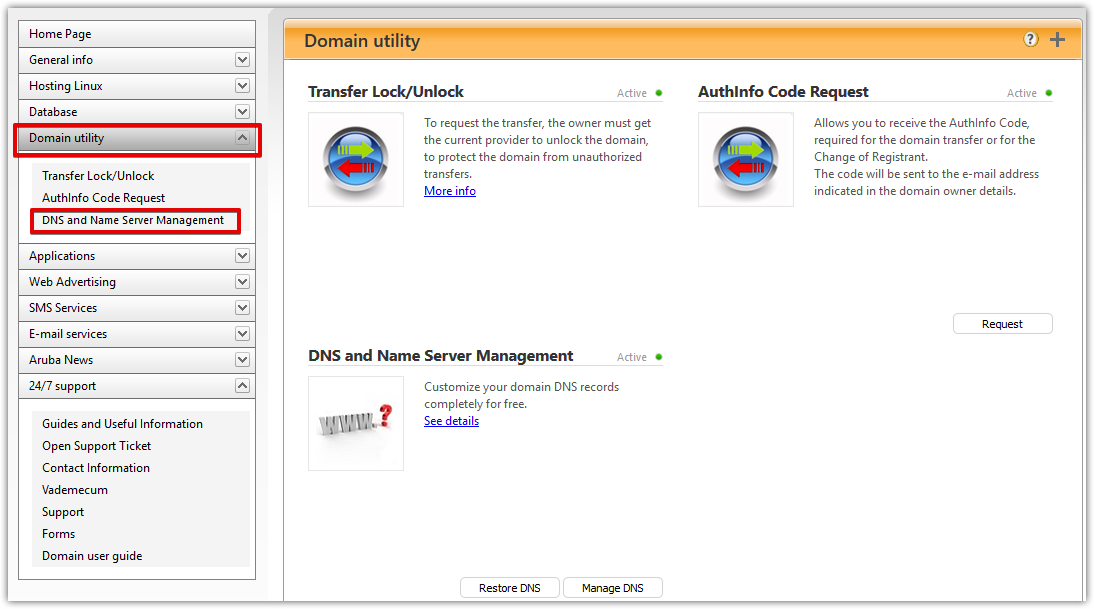
- On the left menu, click on the Domain utility section and then on the DNS and Name Server Management menu.
Back to top
Create a SPF record
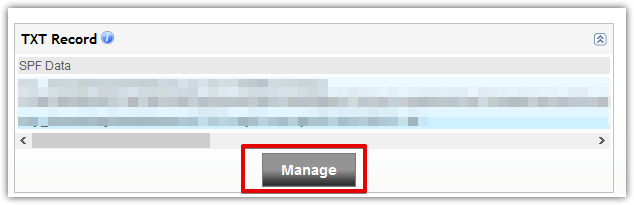
- Scroll down to the TXT Record zone and click on the Manage button on that area
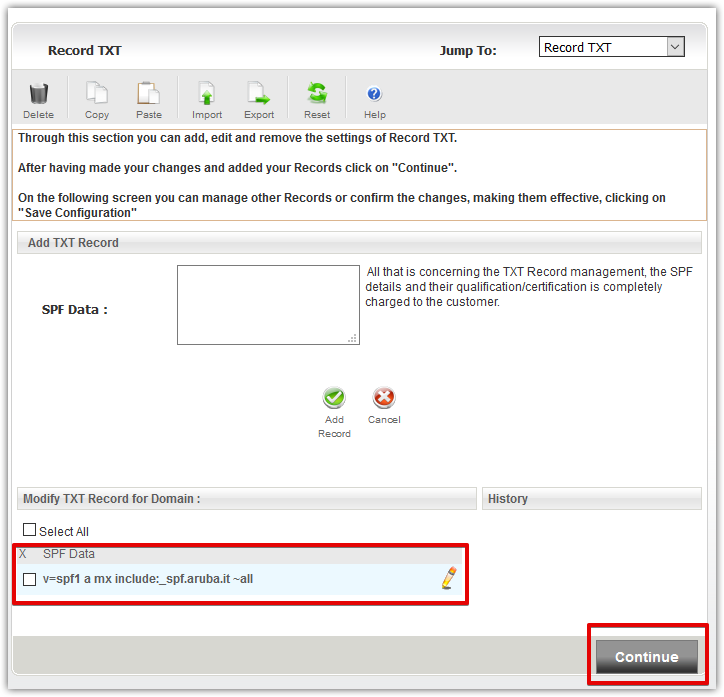
- Enter your SPF record in the textarea ( v=spf1 a mx include:_spf.aruba.it ~all ) and click on the Add Record button
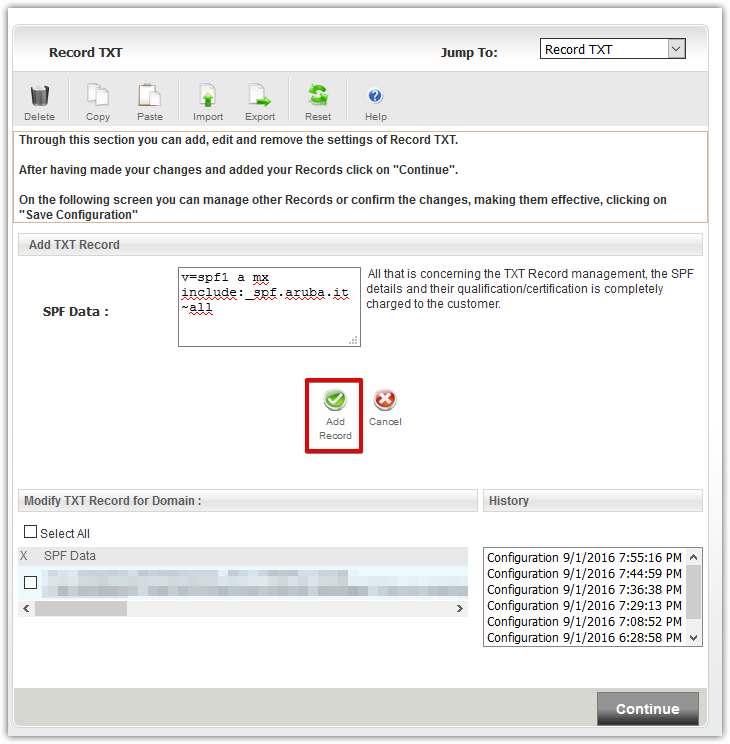
- Your new entry will appear in the bottom section, click on the Continue button
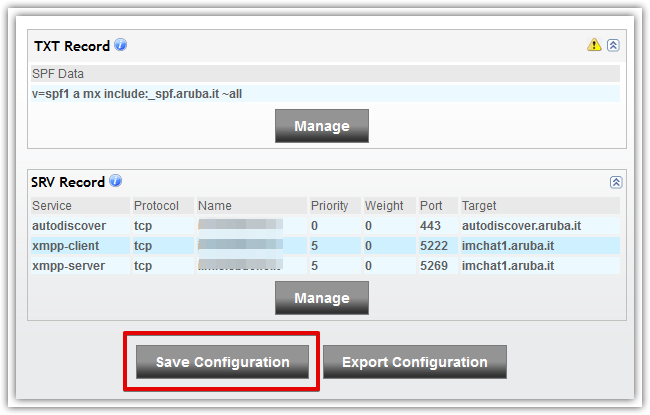
- You will be redirected to the DNS manager where you can see your newly created SPF entry.
Click on the Save Configuration button to save your modifications.
Back to top