Access the DNS Zone Editor
- Log in to your 123-reg account.
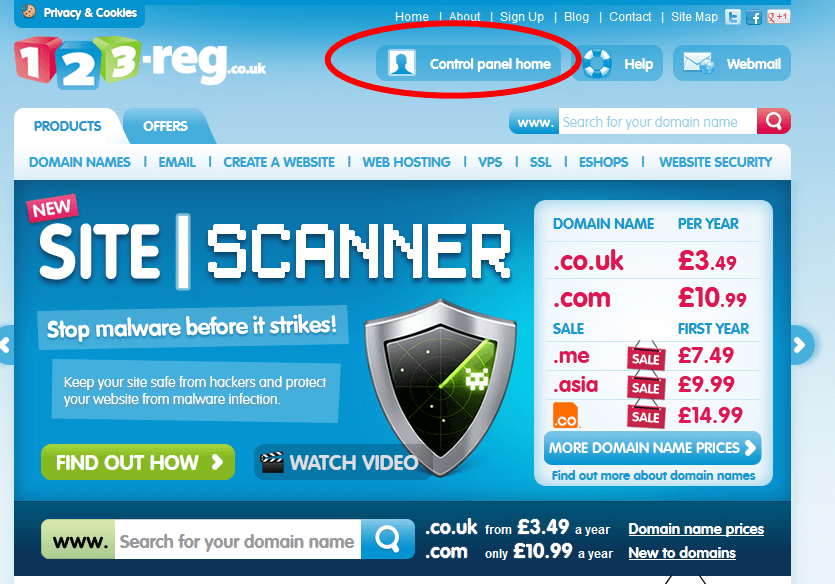
- Click on the Control panel login button.
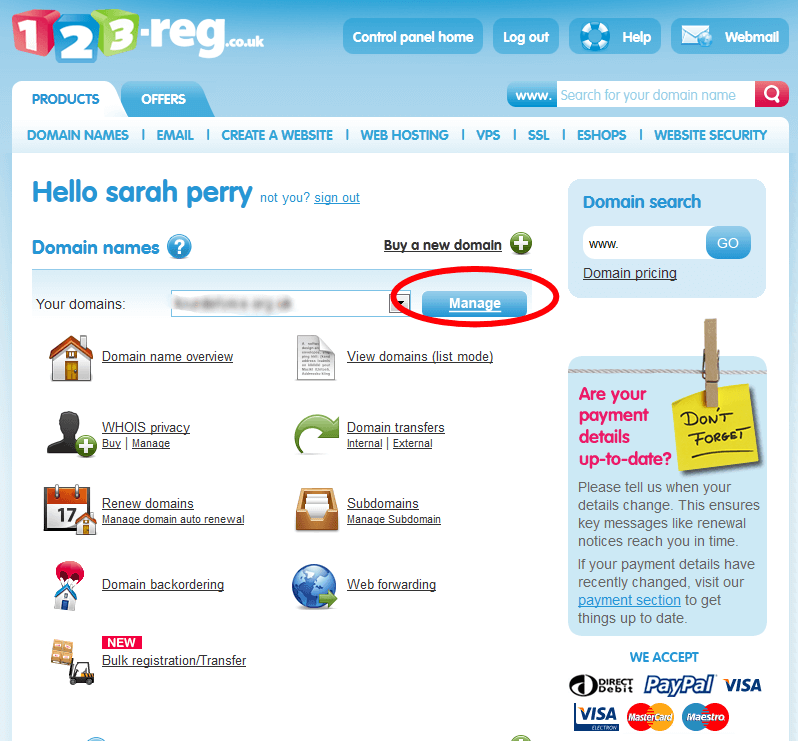
- Select your domain name and click on Manage.
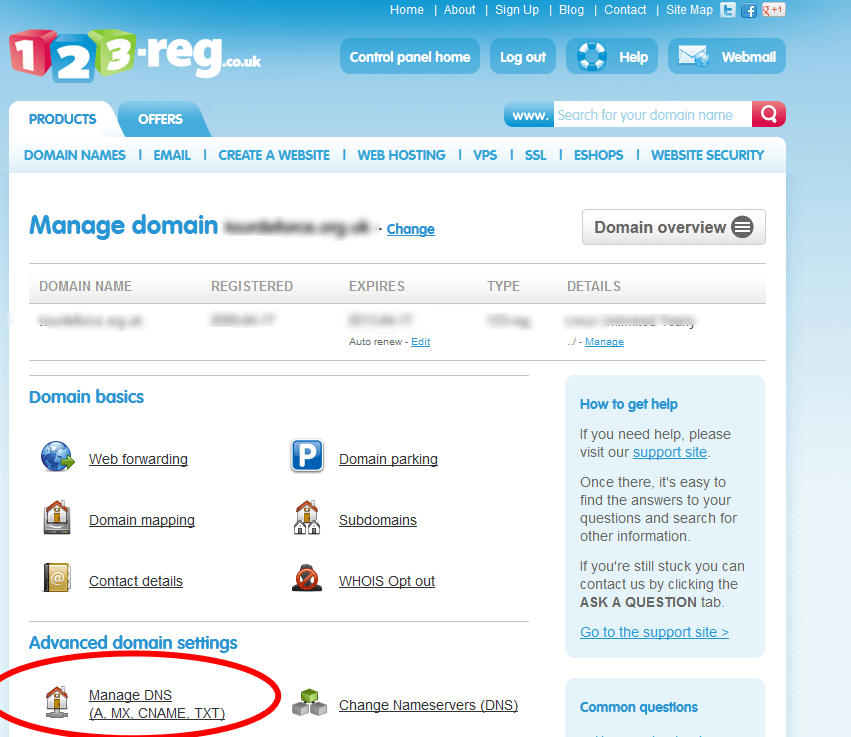
- Click on the Manage DNS link.
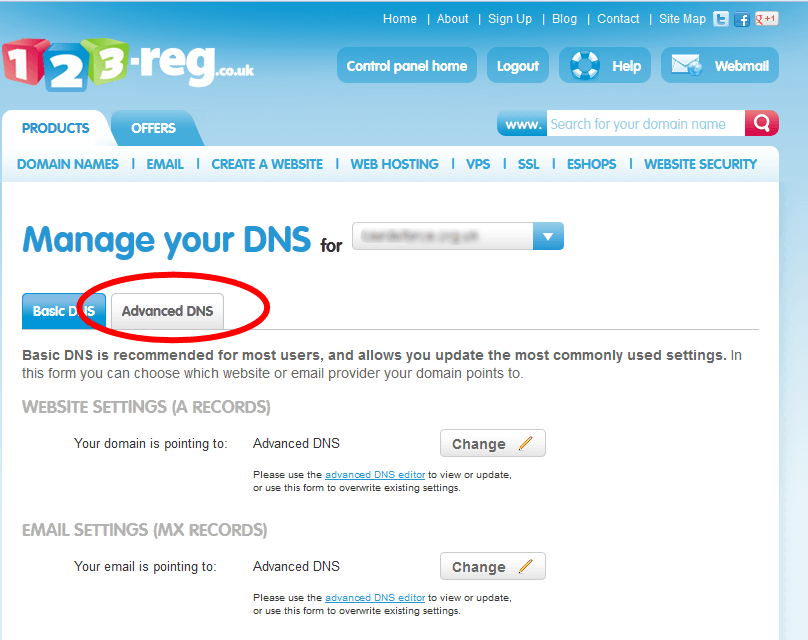
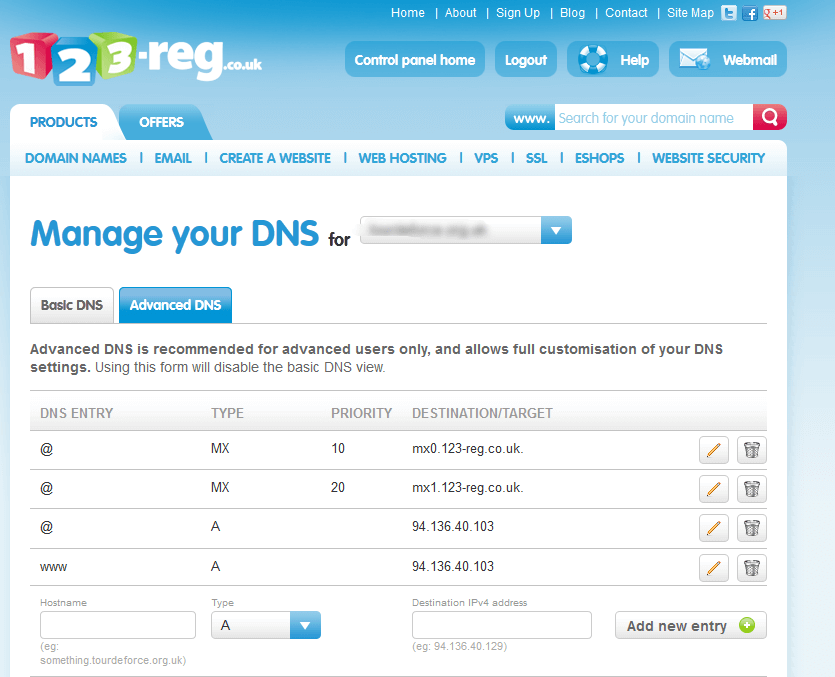
- Click on the Advanced DNS tab.
Back to top
Create a SPF record
- Hostname: Enter the Host Record you would like to use ("@" for example.com, "mail" for mail.example.com, etc).
- Type: From the drop down menu choose TXT.
- Destination: Enter here your SPF record ( v=spf1 a mx ~all )
- Click on the Add new entry button.
Back to top